
24 September 2015
Tutorial: Creating awesome water with LiquidFun, snapshots, and filters
This tutorial comes to you courtesy of Andreas von Lepel of Frozen Gun Studios. Following the worldwide success of “Freeze! – The Escape” (iOS/Android) with more than 11 million freemium downloads, Frozen Gun Studios has just released the sequel, “Freeze! 2 – Brothers” (iOS/Android), built entirely in Corona SDK and featuring LiquidFun-based water effects.
Overview
Very early in the development, I decided that it would be really interesting for the gameplay if I could have water and poisonous liquids like rocket fuel sloshing around in the rotating levels. Have a look at the trailer to see what we did:
As you can see, both our heroes can swim in the water, but in later stages the task for the player is to first collect all the deadly rocket fuel into a barrel and then to pick it up to open the level exit.
Project code
Setting up a scene with basic water using LiquidFun is really easy and there are some nice examples included in the Corona SampleCode repository. However, creating really nice, transparent water with a visible “surface” is a little harder and you need to use snapshots and filters. Fortunately, as usual with Corona SDK, even complex stuff is mostly done for you by the engine.
As we step through this tutorial, I encourage you to download the LiquidFun-Transparency project in the GitHub repository, also bundled into recent builds of Corona SDK:
CoronaSDK-XXXX → SampleCode → Physics → LiquidFun-Transparency
Within the project folder, open the main.lua file. We’ll start with the basic world setup:
Liquid “container”
|
1 2 3 4 5 6 7 8 9 10 11 |
-- Add three physics objects as borders for the simulated liquid, located outside the visible screen local leftSide = display.newRect( worldGroup, -54-letterboxWidth, display.contentHeight-180, 600, 70 ) physics.addBody( leftSide, "static" ) leftSide.rotation = 86 local centerPiece = display.newRect( worldGroup, display.contentCenterX, display.contentHeight+60+letterboxHeight, 440, 120 ) physics.addBody( centerPiece, "static" ) local rightSide = display.newRect( worldGroup, display.contentWidth+54+letterboxWidth, display.contentHeight-180, 600, 70 ) physics.addBody( rightSide, "static" ) rightSide.rotation = -86 |
In this block, I use three static rectangles to build a container outside of the screen boundaries. The container is open at the top and it will later hold the water inside of the screen.
Scrolling background
I want even demos to look nice, so in the next block, I add an endless scrolling background by placing two identical background images adjacent to each other, one fully visible in the middle of the screen, the other to the right of it.
|
1 2 3 4 5 6 7 8 9 10 11 12 13 14 |
-- Create an endless scrolling background, using background image from "Freeze!" local background1 = display.newImageRect( worldGroup, "background.png", 320, 480 ) background1.x = 160 background1.y = 240 background1.xScale = 1.202 background1.yScale = 1.200 transition.to( background1, { time=12000, x=-224, iterations=0 } ) local background2 = display.newImageRect( worldGroup, "background.png", 320, 480 ) background2.x = 544 background2.y = 240 background2.xScale = 1.202 background2.yScale = 1.200 transition.to( background2, { time=12000, x=160, iterations=0 } ) |
Note that both images are moved slowly to the left and then, via endless iterations, are set back to their original positions and moved again, all using simple transition.to() calls.
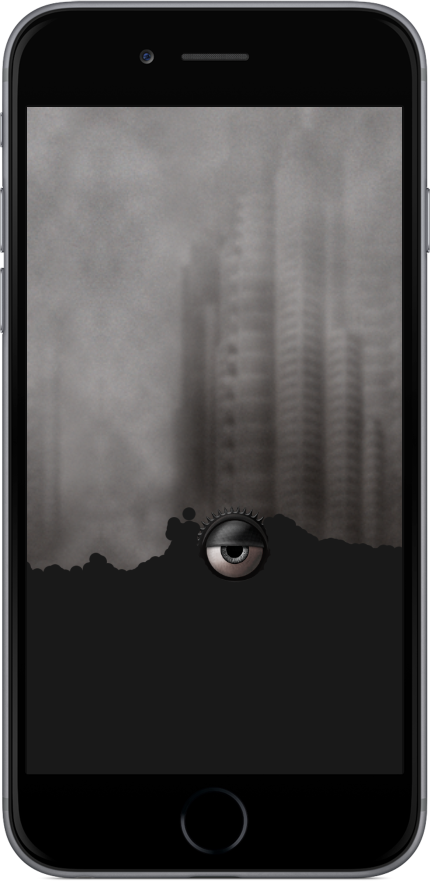
The hero
Next, I add our eye hero into the scene as a dynamic physics object that will swim on the water. It can also be touched and dragged around by the user. I will not dive into the touch-drag code, about which a lot has been written and demonstrated previously.
|
1 2 3 4 5 6 7 8 9 10 11 12 13 14 15 16 17 18 19 20 21 22 23 24 25 26 27 28 29 30 31 |
-- Create our eye (the hero of "Freeze!") local hero = display.newImageRect( worldGroup, "hero.png", 64, 64 ) hero.x = 160 hero.y = -400 physics.addBody( hero, { density=0.7, friction=0.3, bounce=0.2, radius=30 } ) -- Make hero draggable via a touch handler and physics touch joint local function dragBody( event ) local body = event.target local phase = event.phase if ( "began" == phase ) then display.getCurrentStage():setFocus( body, event.id ) body.isFocus = true body.tempJoint = physics.newJoint( "touch", body, event.x, event.y ) body.isFixedRotation = true elseif ( body.isFocus ) then if ( "moved" == phase ) then body.tempJoint:setTarget( event.x, event.y ) elseif ( "ended" == phase or "cancelled" == phase ) then display.getCurrentStage():setFocus( body, nil ) body.isFocus = false event.target:setLinearVelocity( 0,0 ) event.target.angularVelocity = 0 body.tempJoint:removeSelf() body.isFixedRotation = false end end return true end hero:addEventListener( "touch", dragBody ) |
LiquidFun particle system and water
In the next block, the particle system for the water is created, and a big rectangle of water particles is placed into the scene.
|
1 2 3 4 5 6 7 8 9 10 11 12 13 14 15 16 17 18 19 20 |
-- Create the LiquidFun particle system for the water local particleSystem = physics.newParticleSystem{ filename = "liquidParticle.png", radius = 3, imageRadius = 5, gravityScale = 1.0, strictContactCheck = true } -- Create a "block" of water (LiquidFun group) particleSystem:createGroup( { flags = { "tensile" }, x = 160, y = 0, color = { 0.1, 0.1, 0.1, 1 }, halfWidth = 128, halfHeight = 256 } ) |
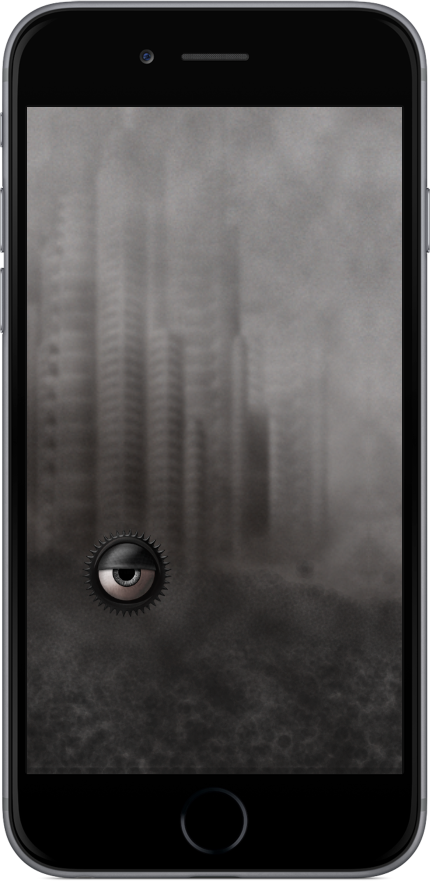
And this is the result if you start the code now:
The water is flowing, but it’s more like oil, because there is no transparency yet.
Adding transparency (first attempt)
Now things get a little more complex. I want to render the water semi-transparent, e.g. with an alpha value of 0.3 (30%) so that the background is visible through the water.
If I change the last value (alpha) of the the color property on line 111, there will be some transparency, but not exactly what I’m looking for:
Each particle now has an alpha value of 30%.
0.3, and this gives a chaotic rendering of the water because all of the particles overlap slightly. While this could be nice effect for certain cases, it’s definitely not what I am trying to achieve.
Adding transparency using a snapshot
The solution is to render all the particles into a snapshot texture on each frame and then apply transparency to the entire texture. Here are the relevant lines:
|
1 2 3 4 5 6 7 |
-- Initialize snapshot for full screen local snapshot = display.newSnapshot( worldGroup, 320+letterboxWidth+letterboxWidth, 480+letterboxHeight+letterboxHeight ) local snapshotGroup = snapshot.group snapshot.x = 160 snapshot.y = 240 snapshot.canvasMode = "discard" snapshot.alpha = 0.3 |
|
1 2 3 4 |
-- Insert the particle system into the snapshot snapshotGroup:insert( particleSystem ) snapshotGroup.x = -160 snapshotGroup.y = -240 |
|
1 2 3 4 5 |
-- Update (invalidate) the snapshot each frame local function onEnterFrame( event ) snapshot:invalidate() end Runtime:addEventListener( "enterFrame", onEnterFrame ) |
Essentially, a snapshot and its group are created, positioned in the center of the content area. Note that the width and height of the snapshot are adjusted by the letterboxWidth and letterboxHeight variables calculated earlier in main.lua — this ensures that, when running in "letterbox" scale mode, the snapshot occupies the entire screen on devices of various aspect ratios.
On line 123, I set the alpha value of the entire snapshot to 0.3, effectively setting the entire snapshot texture to 30% opacity. Following this, the particle system is inserted into the snapshot group and finally, with the help of an "enterFrame" listener, the snapshot is invalidated and rendered anew each frame.
With this addition, you can see that the water now has realistic transparency:
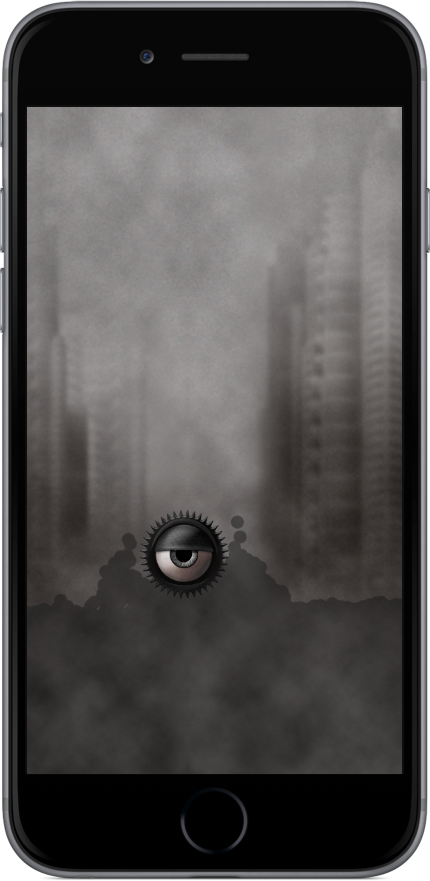
Transparency! At last!
Go for pretty and add a filter
After I got this far, I was quite happy. But the cool engineers at Corona Labs added filter support, so I started to experiment a lot with all of the filters and filter options in my quest to add a nice visible surface to the water. It took some time to achieve the correct look, but in the end it was really easy:
|
1 2 |
-- Apply a "sobel" filter to portray the visible surface of the water snapshot.fill.effect = "filter.sobel" |
And that’s it, we now have water with transparency and a nice water surface!
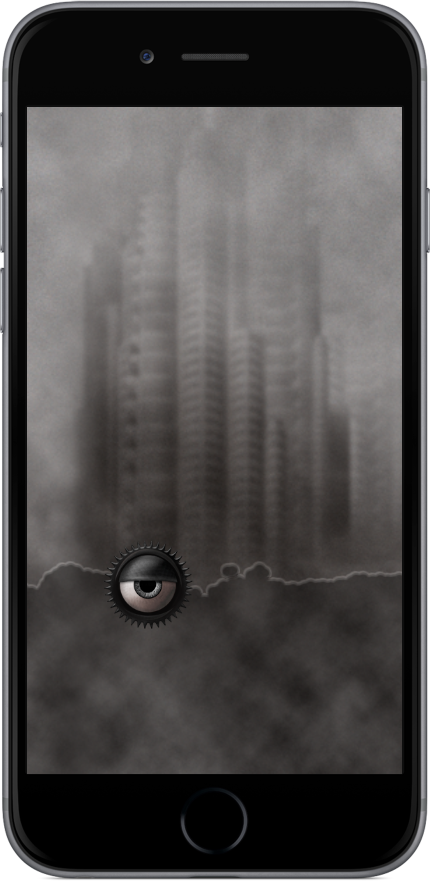
The water “surface” shows as a visible line on top of the water
(the edge of the rendered water enhanced by the sobel filter).
Where to go from here
From here, there are a lot of experiments you can do, e.g. play around with the density of the hero eye (with this you can influence whether it should be very light and always float on top of the water, or whether it should be heavy and sink below).
Another option is to use different filters for the water and tune their respective filter settings:
snapshot.fill.effect = "filter.emboss"snapshot.fill.effect = "filter.frostedGlass"snapshot.fill.effect = "filter.crystallize"snapshot.fill.effect = "filter.scatter"
Finally, don’t forget the many different “flags” you can use for the LiquidFun group — e.g. add "staticPressure" and the water particles at the bottom of the container will not be compressed.
Performance issues
Not all devices are powerful enough to display water with these added special effects while maintaining an acceptable frame rate. Because of this, I take the following precautions:
- On iOS, I use the snapshot on all supported devices (iPhone 4S and better; iPad 2 and better). However, the additional sobel filter is added only on more powerful devices like the iPad Air or iPad mini 2 (iPad4,*), iPhone 5S (iPhone6,1), or iPod Touch 5G (iPod5,1) and better.
- For Android, I set the
minSdkVersionto"16"(Android 4.1) to exclude many older devices. Also, I use the sobel filter only on devices that support high precision shaders, as determined by this:
system.getInfo( "gpuSupportsHighPrecisionFragmentShaders" ) - Finally, I test the
system.getInfo( "androidDisplayDensityName" )for"xhdpi","xxhdpi", and"xxxhdpi"— only these devices will get the sobel filter, because they are quite modern and should hopefully be fast enough.
Conclusion
As you can see, it is quite easy to create nice-looking water and other liquids, and at last the technology is good enough to make all of this useable on modern mobile devices. I’m looking forward to seeing more games which make use of this, as liquids are great fun for players and developers alike.
If you want to learn more about “Freeze! 2 – Brothers,” visit www.freeze2.com, or download it for either iOS or Android. I hope you enjoy the game!

Dave Haynes
Posted at 11:34h, 25 SeptemberI’ve been thinking about adding some kind of water-based puzzle to Puzzlewood Quests for a long time, so this post is perfect. Now I just have to find the time to actually do it…
Andreas
Posted at 02:35h, 27 SeptemberHi Dave,
Please take the time – would love to see more games using LiquidFun. 🙂
I’m thinking about adding another world to “Freeze! 2 – Brothers” where you actually can freeze the water and turn it to ice, do things with and to the frozen water and then un-freeze it again.
I will make the time to test some stuff in the next weeks, I guess there will be no rest for me as long as I’m able to hack some code into my keyboard. And if I can’t do that anymore I will start to talk like “Cortana, please help Siri to add a loop where you iterate through all my LiquidFun particles …”
Whatever. Please do it. And then don’t forget to tell us about it.
Best from Munich, Germany, home of the Oktoberfest,
Andreas
Steven Johnson (Star Crunch)
Posted at 13:57h, 28 SeptemberThis looks (and sounds) really nice!
In case it’s interesting, I’ve got an ice effect, more or less what I did here but in Corona proper. I’ve lately considered putting together some sort of “materials” package, comprising different texture-ish effects and their variations. Naturally, I’d like to know what needs would come up in real world use…
“I will make the time to test some stuff in the next weeks…” / “…home of the Oktoberfest” Ah, the tension! 🙂
Andreas
Posted at 13:03h, 29 SeptemberHi Steven,
Looks awesome! It would be my pleasure to steal this fine example of code and adapt it for my own purposes. Evil me!
But I guess the old problem is still there, that I cannot use my snapshot of the LiquidFun particles in a custom shader? Or is this already possible, I didn’t look at the state of affairs regarding shaders for some month.
Best
Andreas
Steven Johnson (Star Crunch)
Posted at 15:50h, 29 SeptemberSounds good.
I should point out that this is actually only a very reduced version of the effect described in ShaderX6, which had transparency and incorporated the back side geometry into reflection and refraction, so there’s plenty of room for improvement! (It also included things like cracks and gas that, aside from the cost and complexity they bring, would probably be too subtle on mobile.)
My Lua implementation might look a little imposing since it drags in extra utilities to cram more than four inputs into the shader. In practice, though, you could just hard-code several shaders, each with values for particular situations, e.g. “thick ice” or “dimly-lit ice”, which would free up some inputs. This would be easy enough to do just by working from the Shader Playground version.
(If you could still use the full generality, drop me a mail or PM if you need any help.)
I’ve not had any problems using shaders on snapshots. Snapshots can’t yet be passed through composite paints, though. This means you’ll have to synthesize the bump map in the shader, but with dynamic particles that might have been inevitable anyway.
Carlos Montesino
Posted at 23:23h, 26 SeptemberThanks for this tutorial guys! 😀
Andreas
Posted at 01:07h, 30 SeptemberHi Steven,
thanks for all the input!
Sadly I’ve got tons of other stuff to investigate before I tackle the actual shader (that’s eye candy after all), things like freezing the LiquidFun particles in place (already got – almost – a solution for that) etc.
But really good to know that I can use a snapshot as a source for the shader.
No if only I could use a snapshot as a source for graphics.newOutline …
But I guess with all the complex shapes that would be created by water snapshots newOutline would make too many problems.
Lots of stuff to think about.
Thanks & best
Andreas
BTW:
I was wondering how narrow the “reply” column would get, and now I know it – there was no “reply” button offered anymore at the end of your last answer. 🙂
Ed Maurina
Posted at 23:35h, 01 OctoberThanks so much for writing this article. Its hard for many of us to get started experimenting with the more advanced visual elements. This gives us a leg up and motivation to try our hand at it.